-
SHOP BY
-
 HAIRSTYLIST
-
 BARBER
-
 NAIL TECH
-
 ESTHETICIAN
-
 CONSUMER
SHOP BY
ProfessionBrands -
-
HAIRCARE & SHAVING
HAIRCARE & SHAVING
 RAZOR HANDLES
 RAZOR KITS
 RAZOR BLADES
 SHEARS & SCISSORS
 END PAPER
 COMBS & BRUSHES
 LOTIONS & CREAMS
 ACCESSORIES

-
PERSONAL CARE
PERSONAL CARE
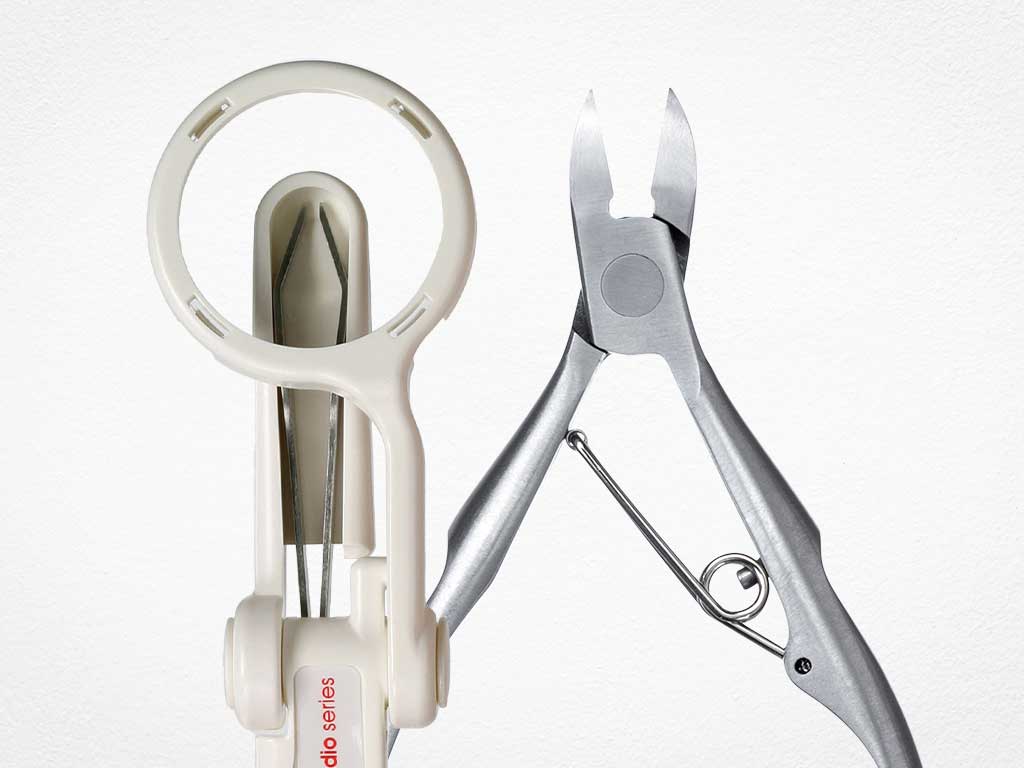
 NAIL CARE
 TWEEZERS
 EYELASH
 HAIRCARE & SHAVING
 SKINCARE
 KITS & SETS
 SPECIALTY
COMBS & BRUSHES
LOTIONS & CREAMS
ACCESSORIES
SPECIALTY
COMBS & BRUSHES
LOTIONS & CREAMS
ACCESSORIES


TREND CONNECT
Trend CONNECT puts 'what's new' together for you when it comes to the season's most current trend updates in fashion, hair design, make-up, skin care, nails and grooming products. From the runway to the red carpet, Trend CONNECT puts you in touch with what really impacts your world as a stylist, barber, nail artist or consumer.
 Filter

Hair Trends

Hair Trends
14 Back to School Haircut Inspiration Ideas for Kids

Hair Trends
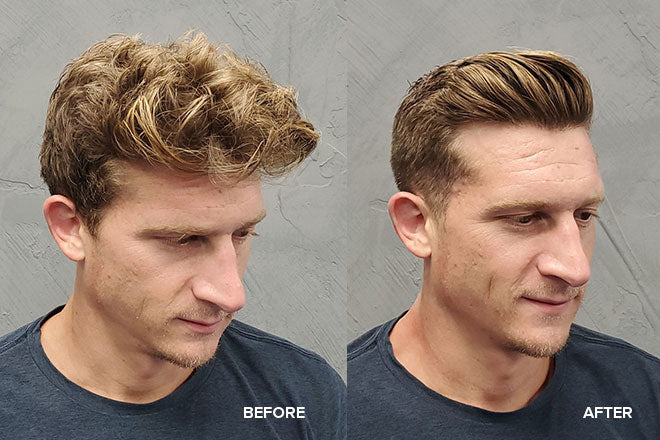
When to Use Scissors vs. Razors for Haircutting

Hair Trends
No Shave November Beard and Mustache Inspirational Looks

Hair Trends
10 Halloween Hair Inspiration Ideas for 2022
Hair Trends
The Focal Point Technique Using the Feather Nape and Body Razor
"One of my very first graduating gifts from cosmetology was a Feather Razor"